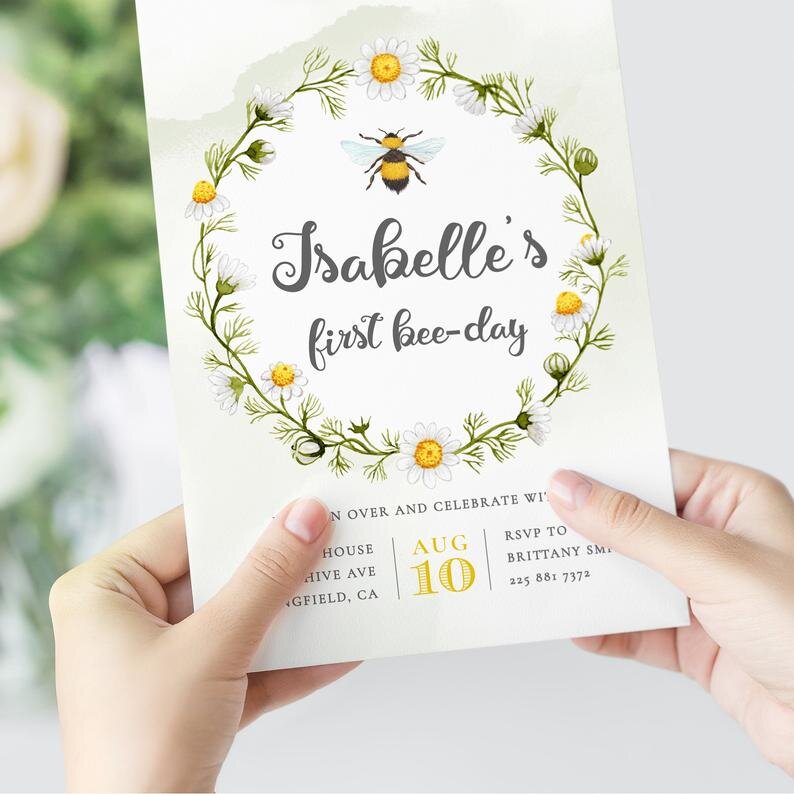

Blair's 1st Bee Day!
Celebrating these days look a lot different than I think anyone could have imagined even a couple of months ago. When Blair’s Mom, Karlie and I started talking about her first birthday party it was long before social distancing orders were in place. The party we had planned was going to be absolutely amazing. Karlie and I would get together over coffee and look over pictures as we thought out every single detail from the invites to napkins. Karlie definitely had a vision and I was excited to be able to help her execute it. Unfortunately, everything quickly changed in the world. Through it all, one thing that stayed constant, Karlie’s desire to find a special way to celebrate her sweet baby Blair turning one. So we adapted the celebration and it turned out so very sweet, a birthday not soon to be forgotten.

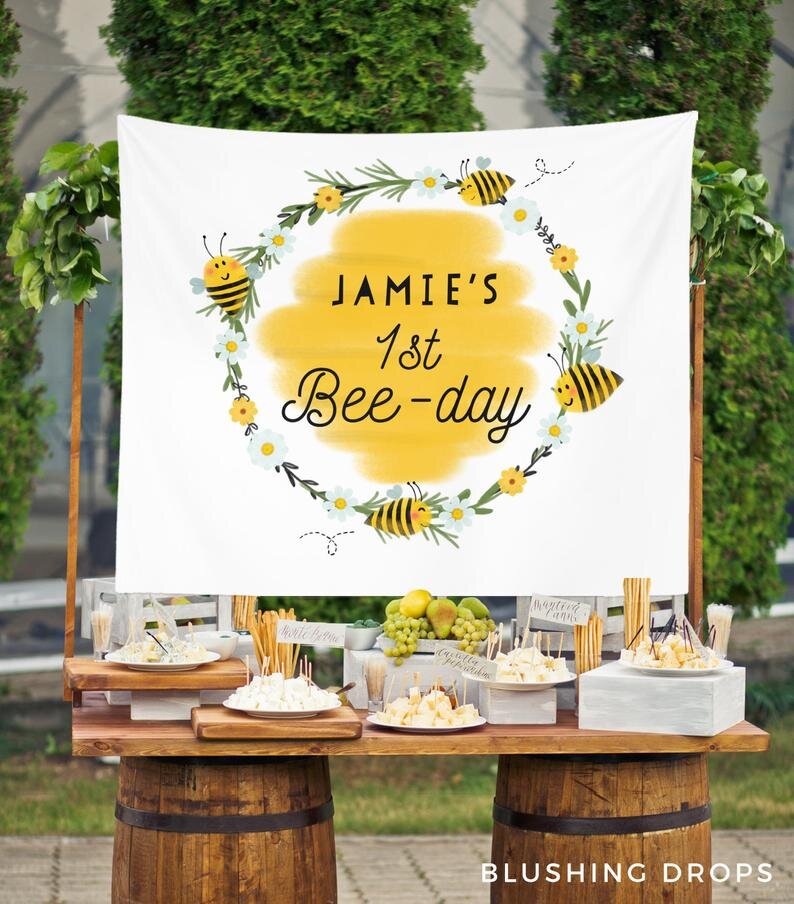
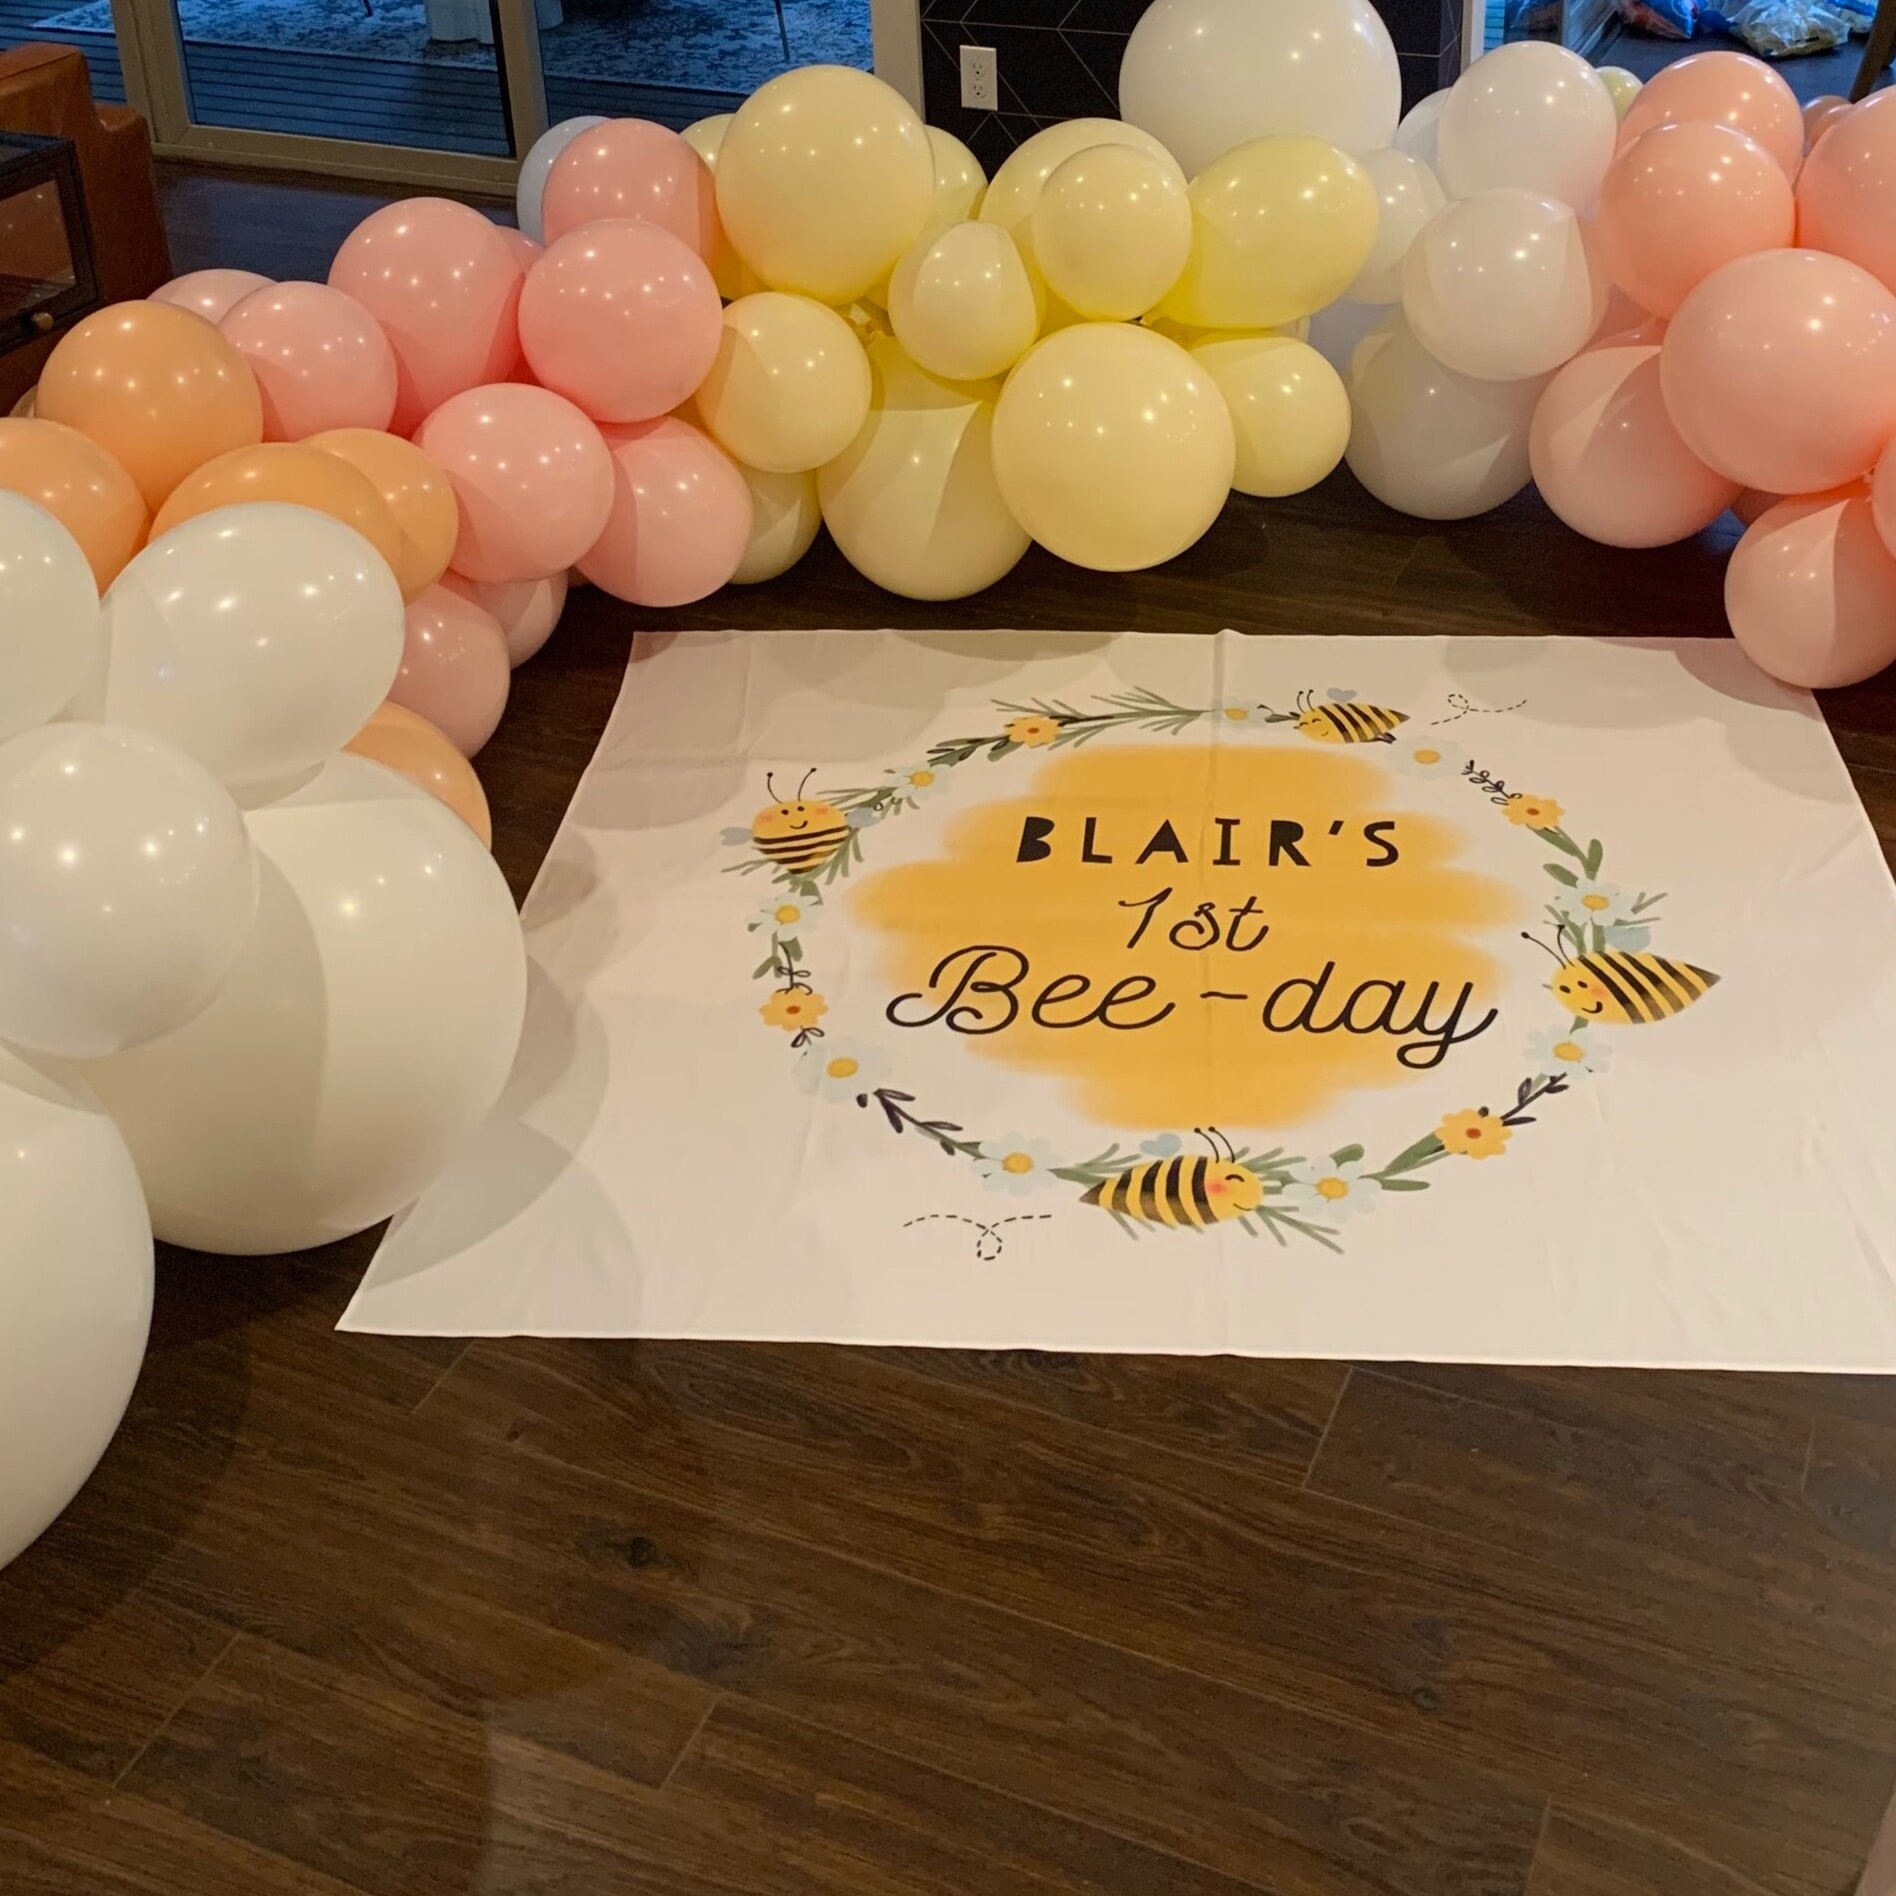
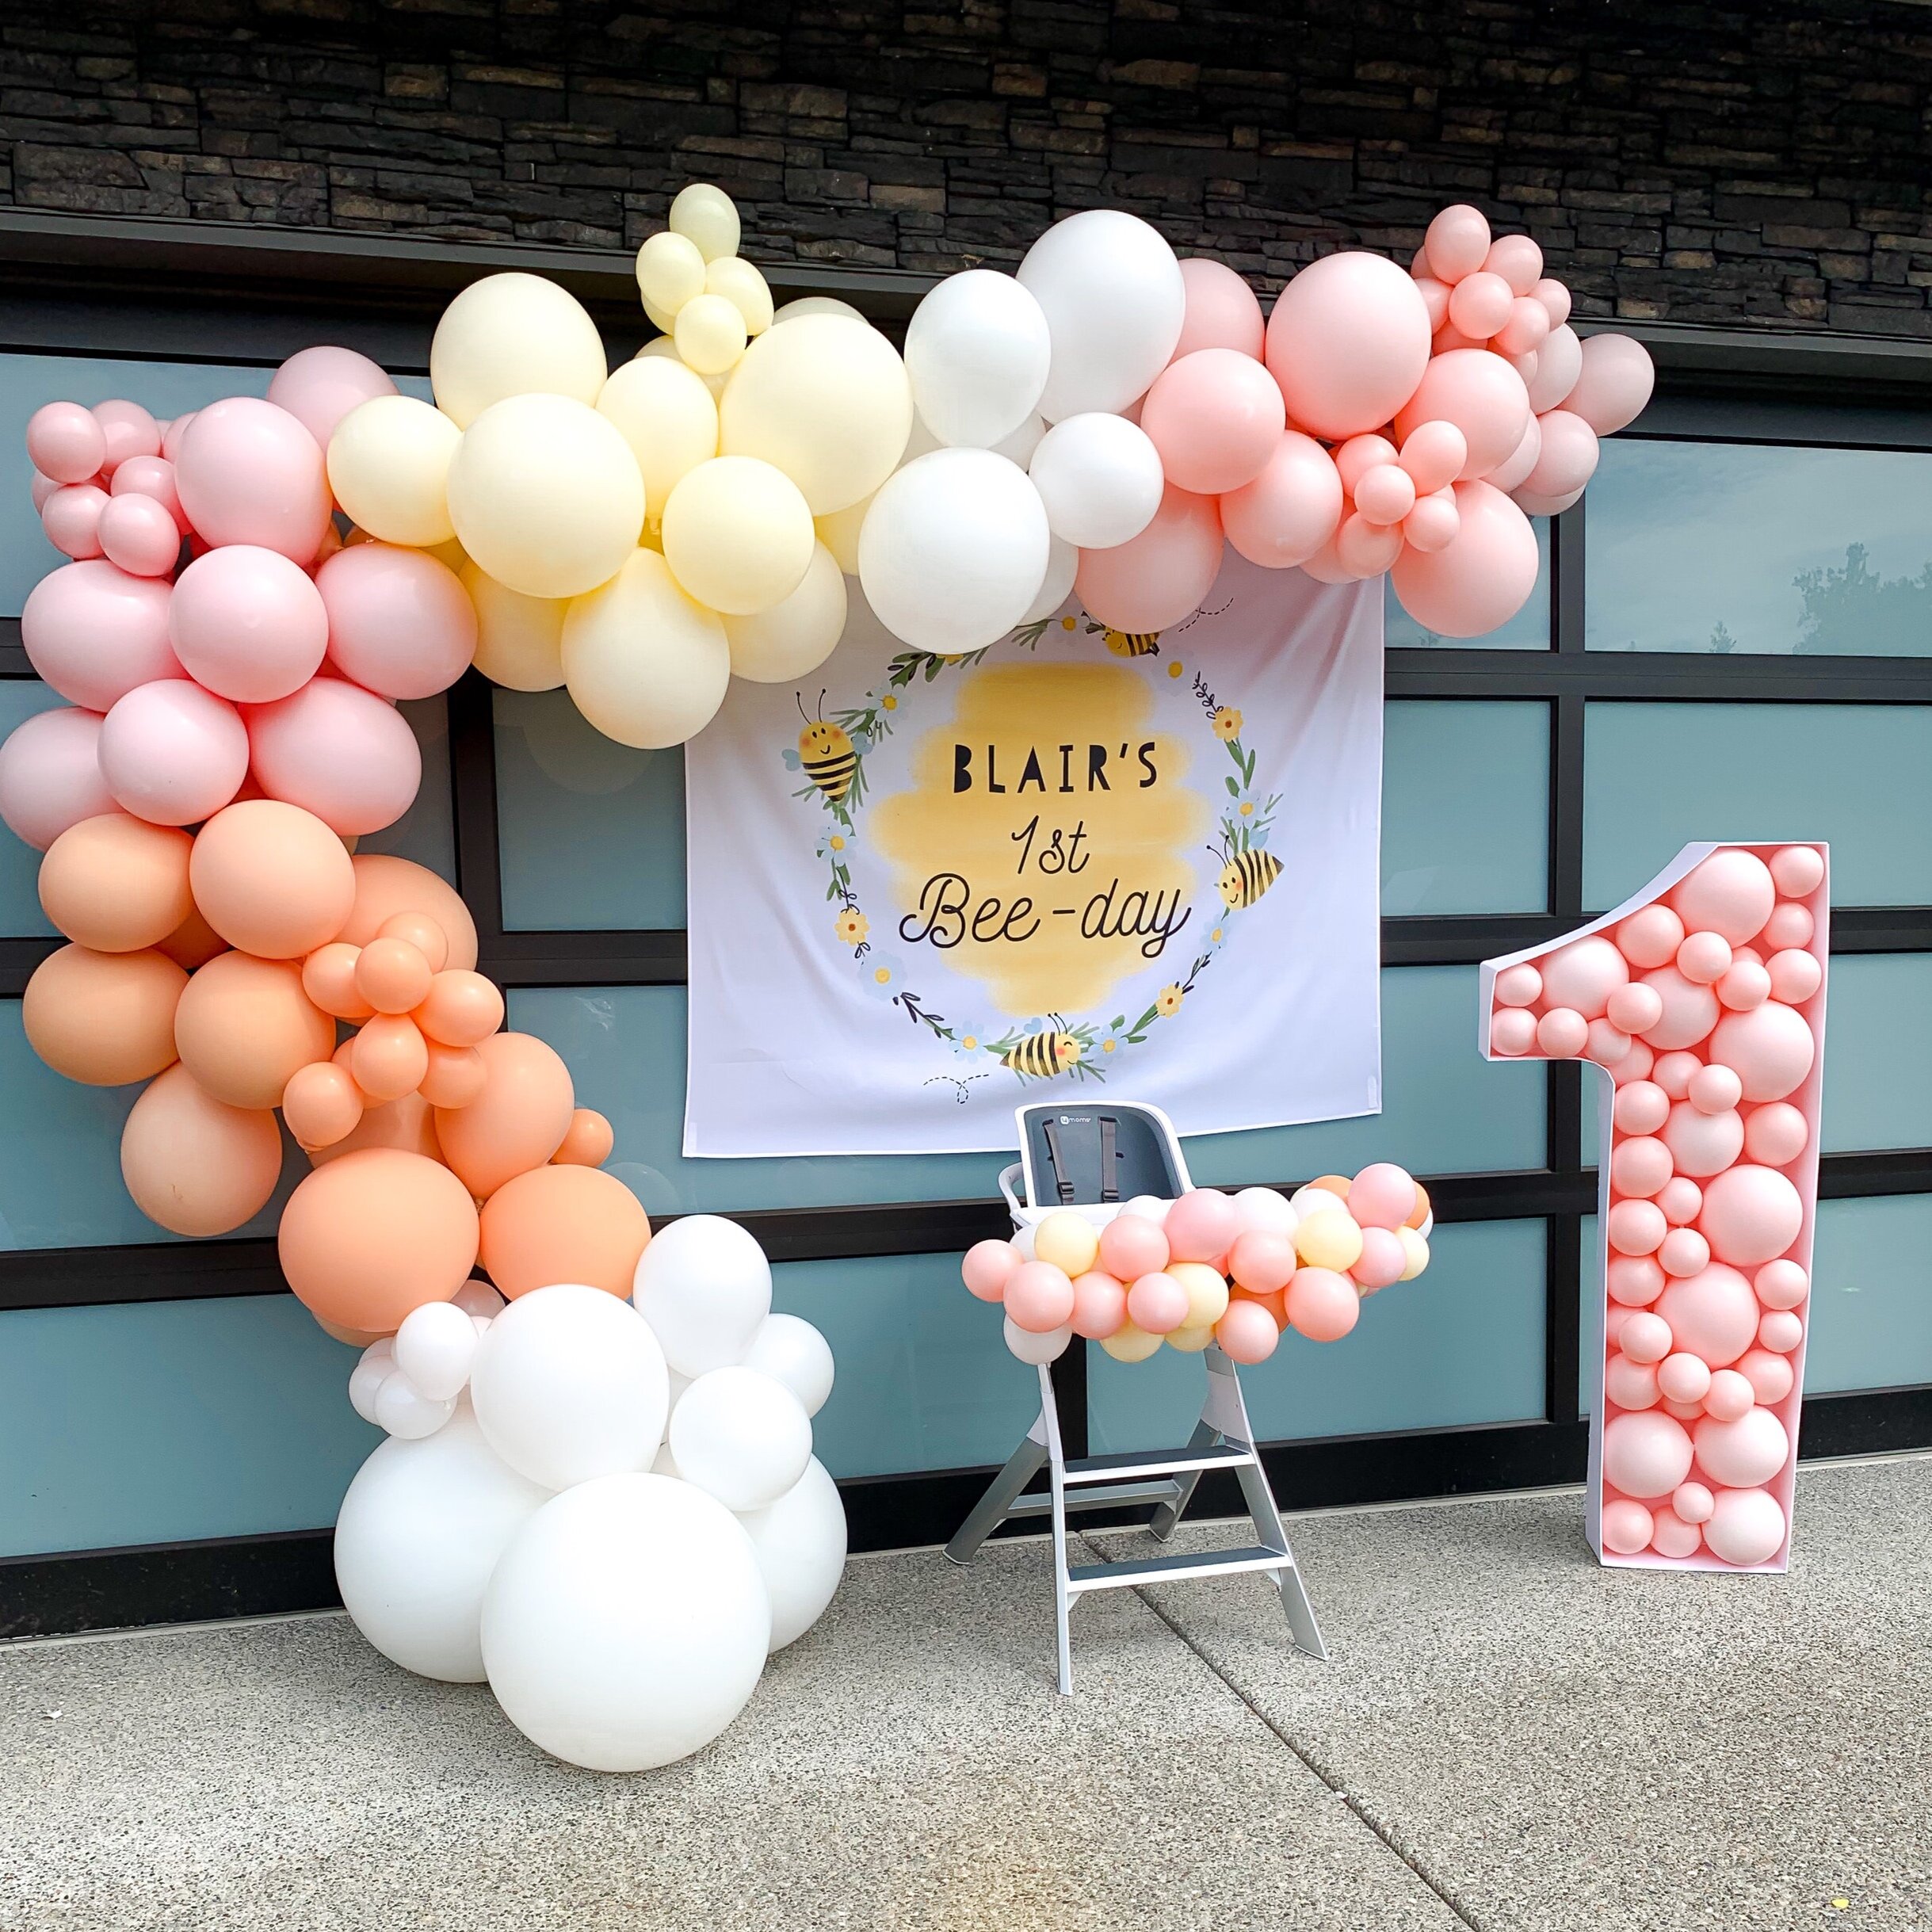
Karlie had the idea to do a social distanced bash where a very small group of friends and family could keep their 6 foot distance from each other, sing happy birthday to Blair and witness her smash her cake. So we decided on creating an adorable set up outside their home with a balloon arch, customized backdrop and #1 packed full of balloons.

Blair’s 1st Bee Day cake smash station
Last year I came across the most beautiful “Bee” cake on pinterest. When Karlie told me she wanted to do a “Bee” theme for Blair’s birthday, I couldn’t wait to show her pictures of the cake design, she loved it too. I did some digging on the internet to learn that the baker, Lucy and Lemons actually lives locally to us in the Seattle area. It was destined to be the cake.

The cake couldn’t have been more perfect and it was absolutely stunning. From the look of it from Blair’s excitement when smashing and eating the cake, it was absolutely delicious too! The card stock “One” was the perfect final touch top the cake.


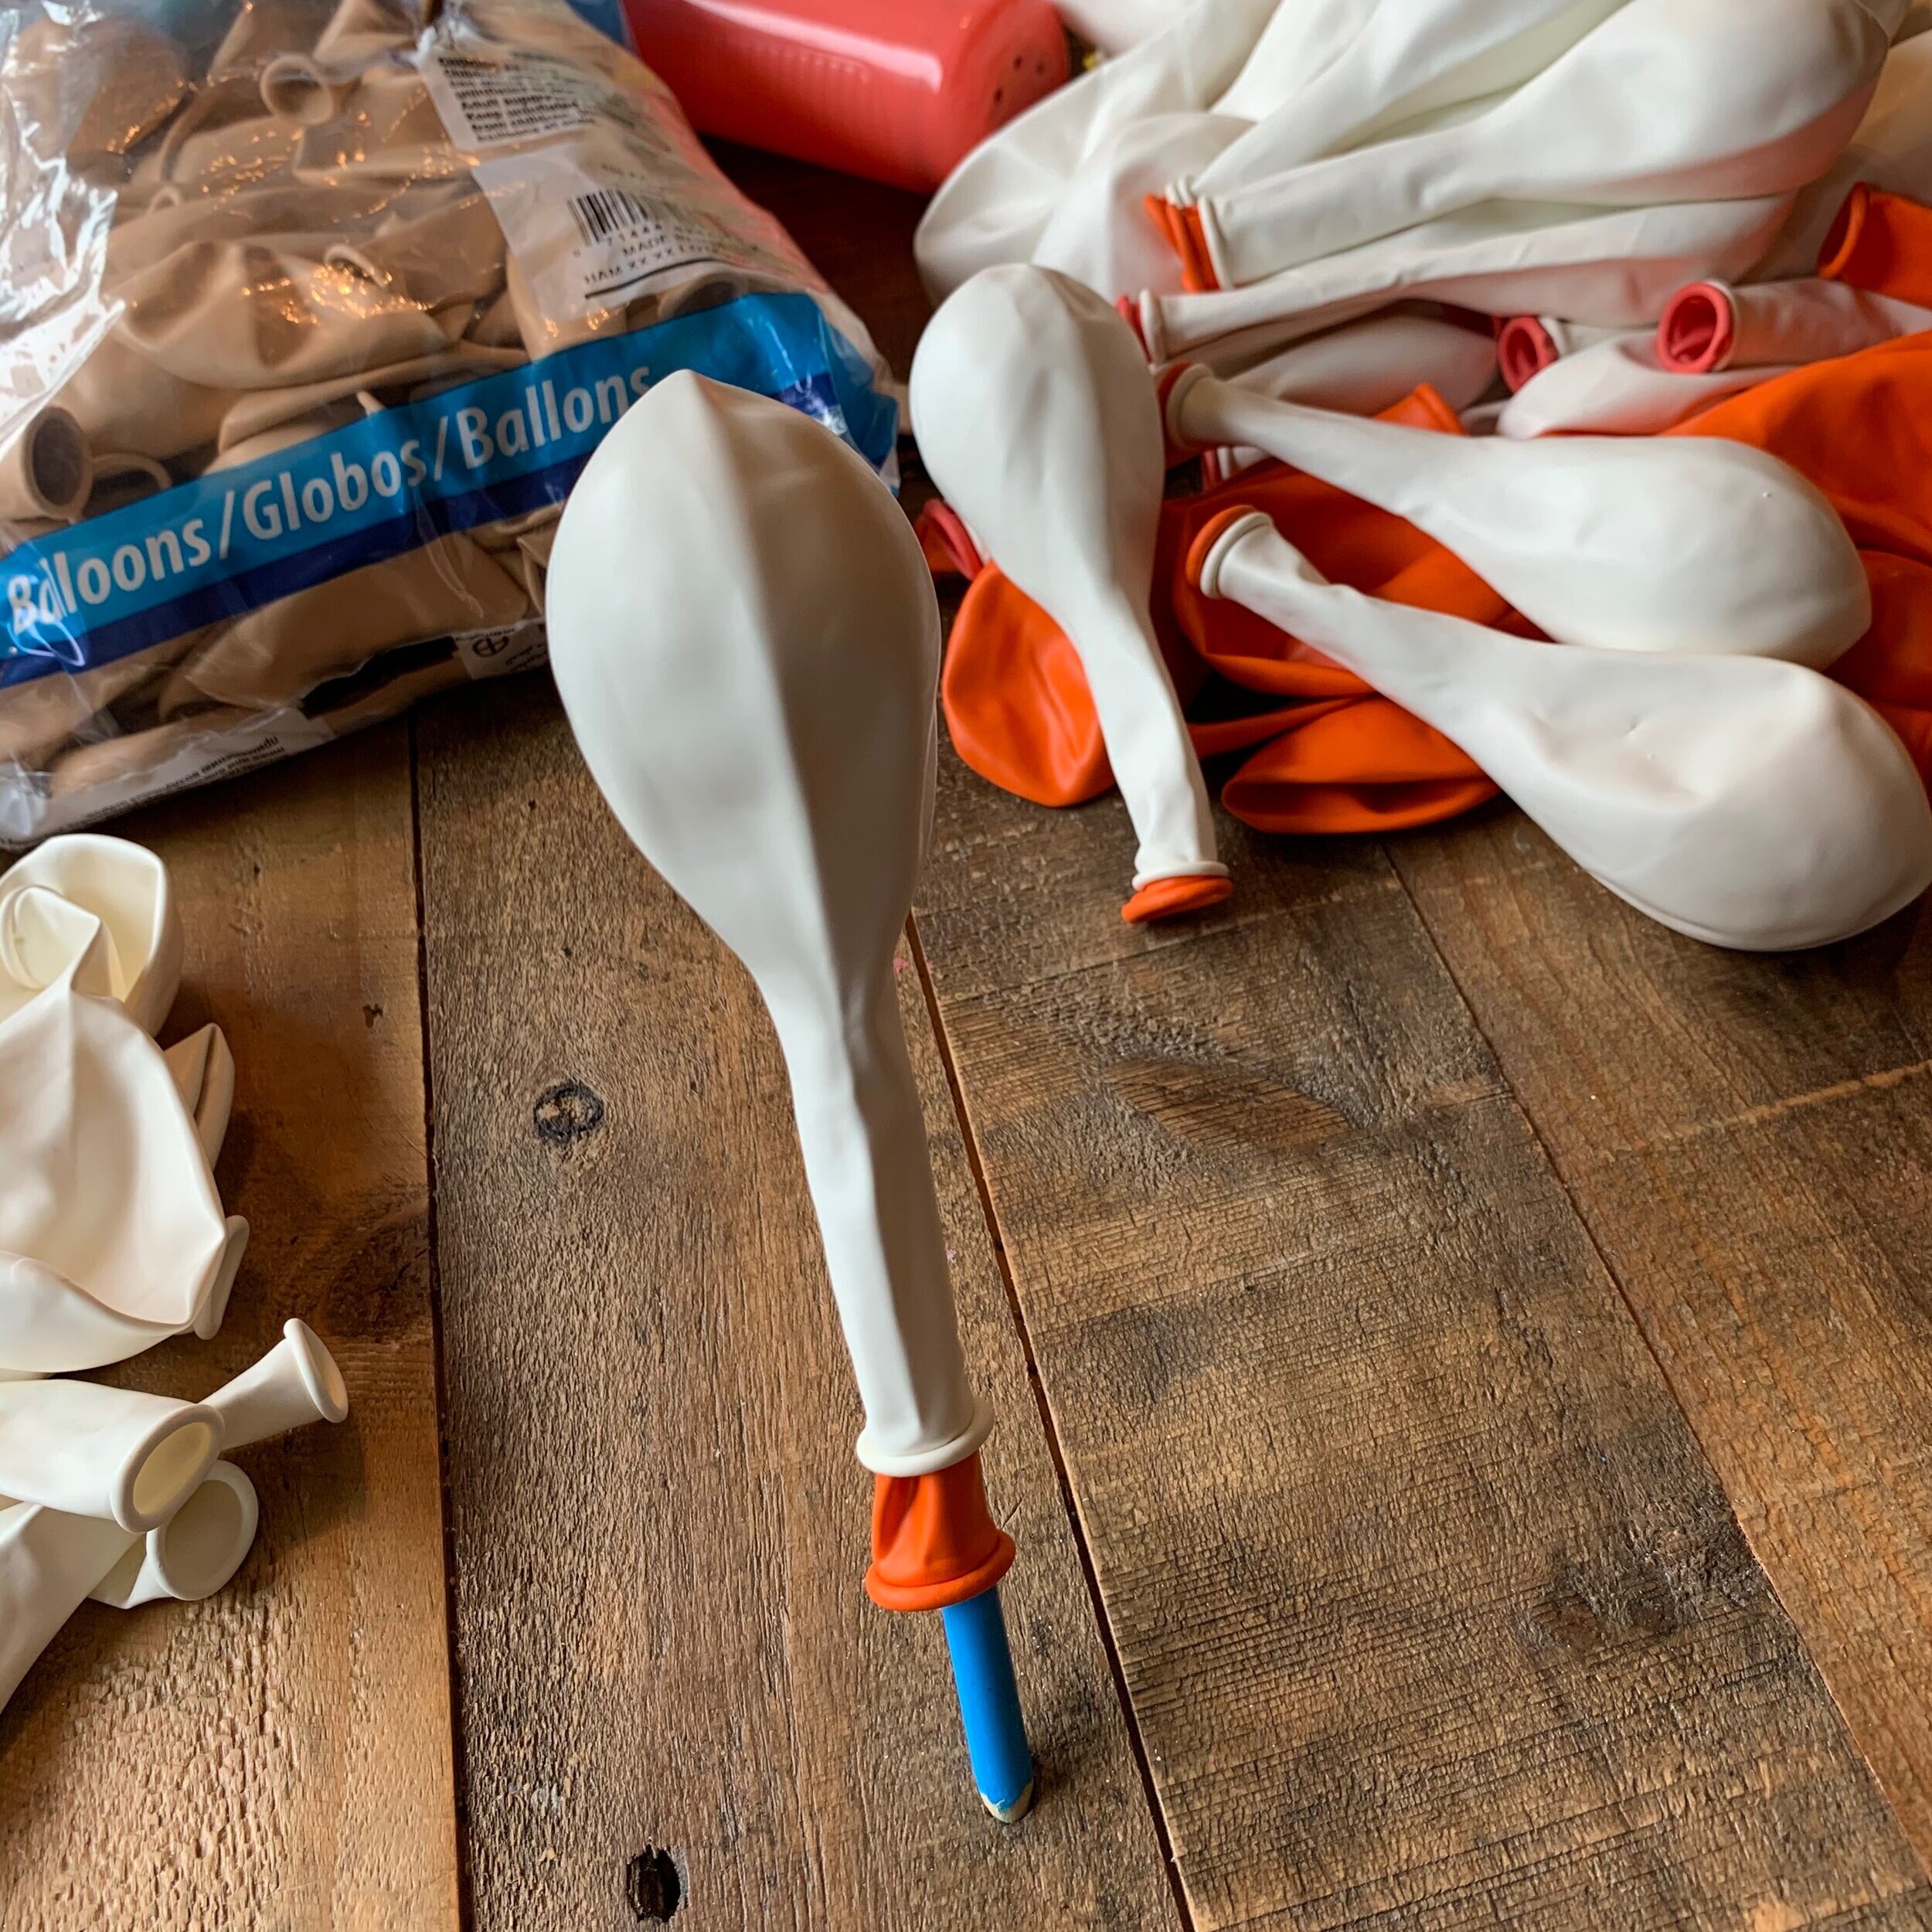
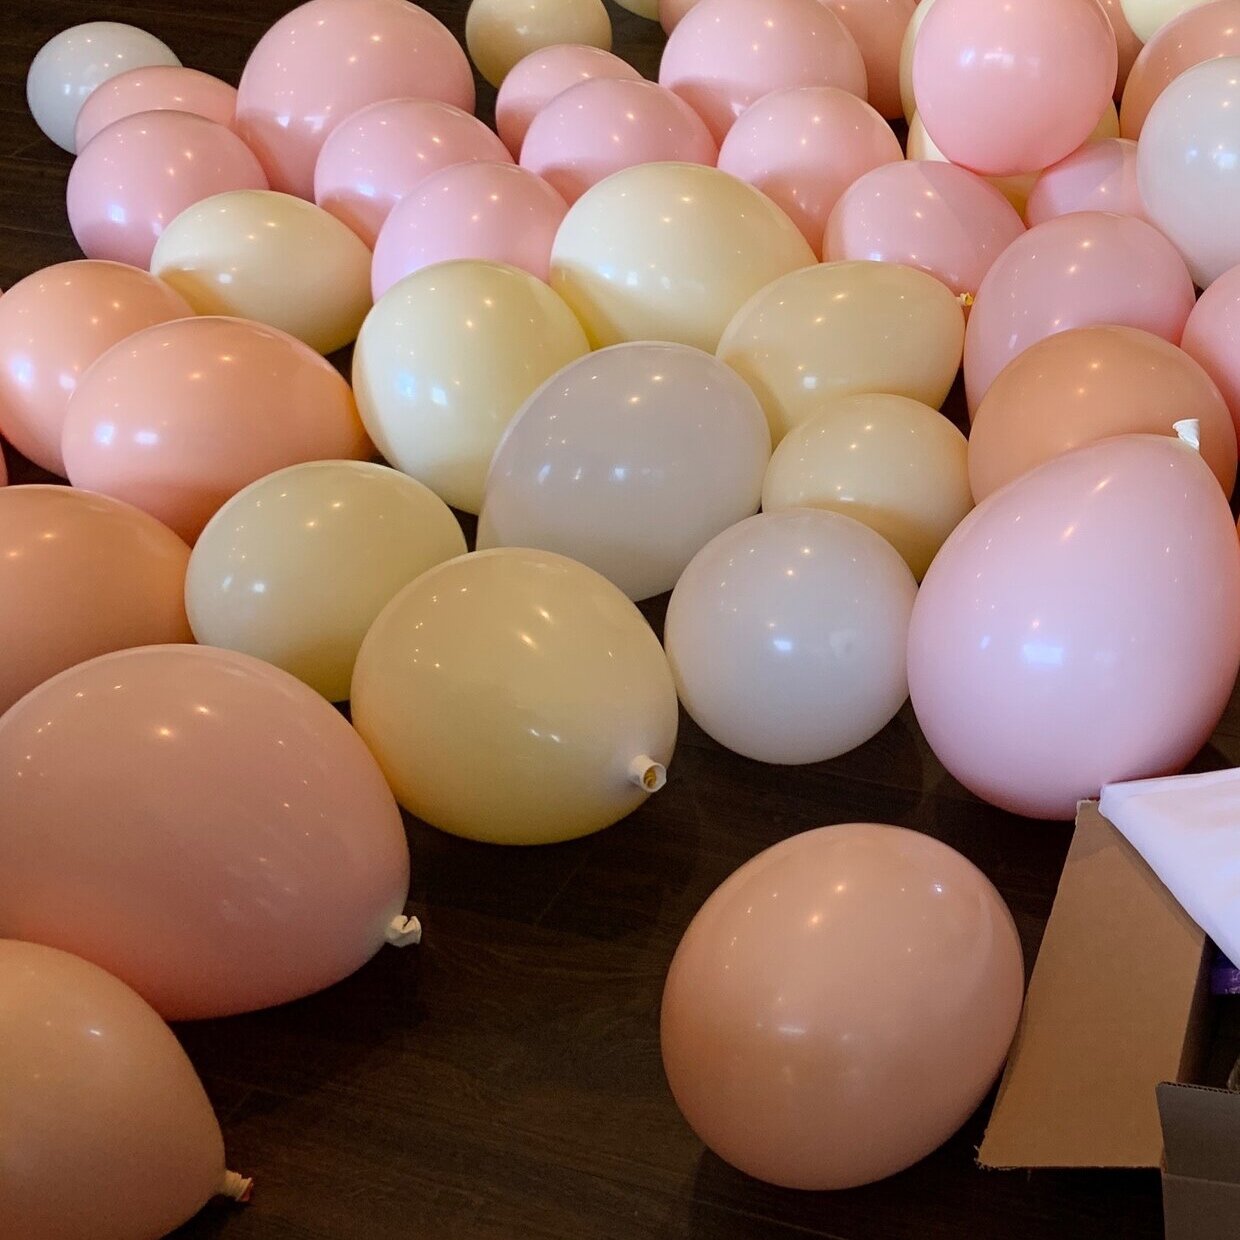
Karlie envisioned celebrating her baby girl with balloons, lots of them. So that is exactly what we did. A balloon arch and a 60 inch #1 packed full of 5” and 11” balloons. Creating the scene was a lot of fun! To get the look of chalky, soft pastel colors in the balloon arch, we had to double stuff the balloons. Yes, doubling stuffing balloons, its a thing. I certainly didn’t know about this process before prepping for this party. I only figured it out after an exhausted internet search for the exact balloons to create the look we envisioned. In the end I finally found out what felt like a big secret, each and every balloon is actually 2 balloons layered up.
Luckily I found this blogpost on Qualatex balloons website where there is a video that walks you through double stuffing as well as a chart you can download to understand what colors create what looks. In Blair’s arch I used Qualatex brand balloons in these colors: in order of color from bottom to top of the arch (see pic below) white (no need to double stuff), orange inside blush, coral inside white, yellow inside white and lastly at the top (and inside the “1”), orange inside white. I know, I would have never guessed orange and white together would create such a soft pink look!
I purchased all of these qualatex colored balloons from Bargain Balloons online. I ordered 1 pack of each color in 5”, 11” and 16” doubling up on 2 packs per size in white. I also purchased 2 packs of 36” in white to add some bigger balloons into the arch for dimension at the base. Tip, you do not need to tie the outer balloon. When breaking down the balloons you can cut the tails off of the inside balloon and save and store the outside balloon for your next double stuffed arch.

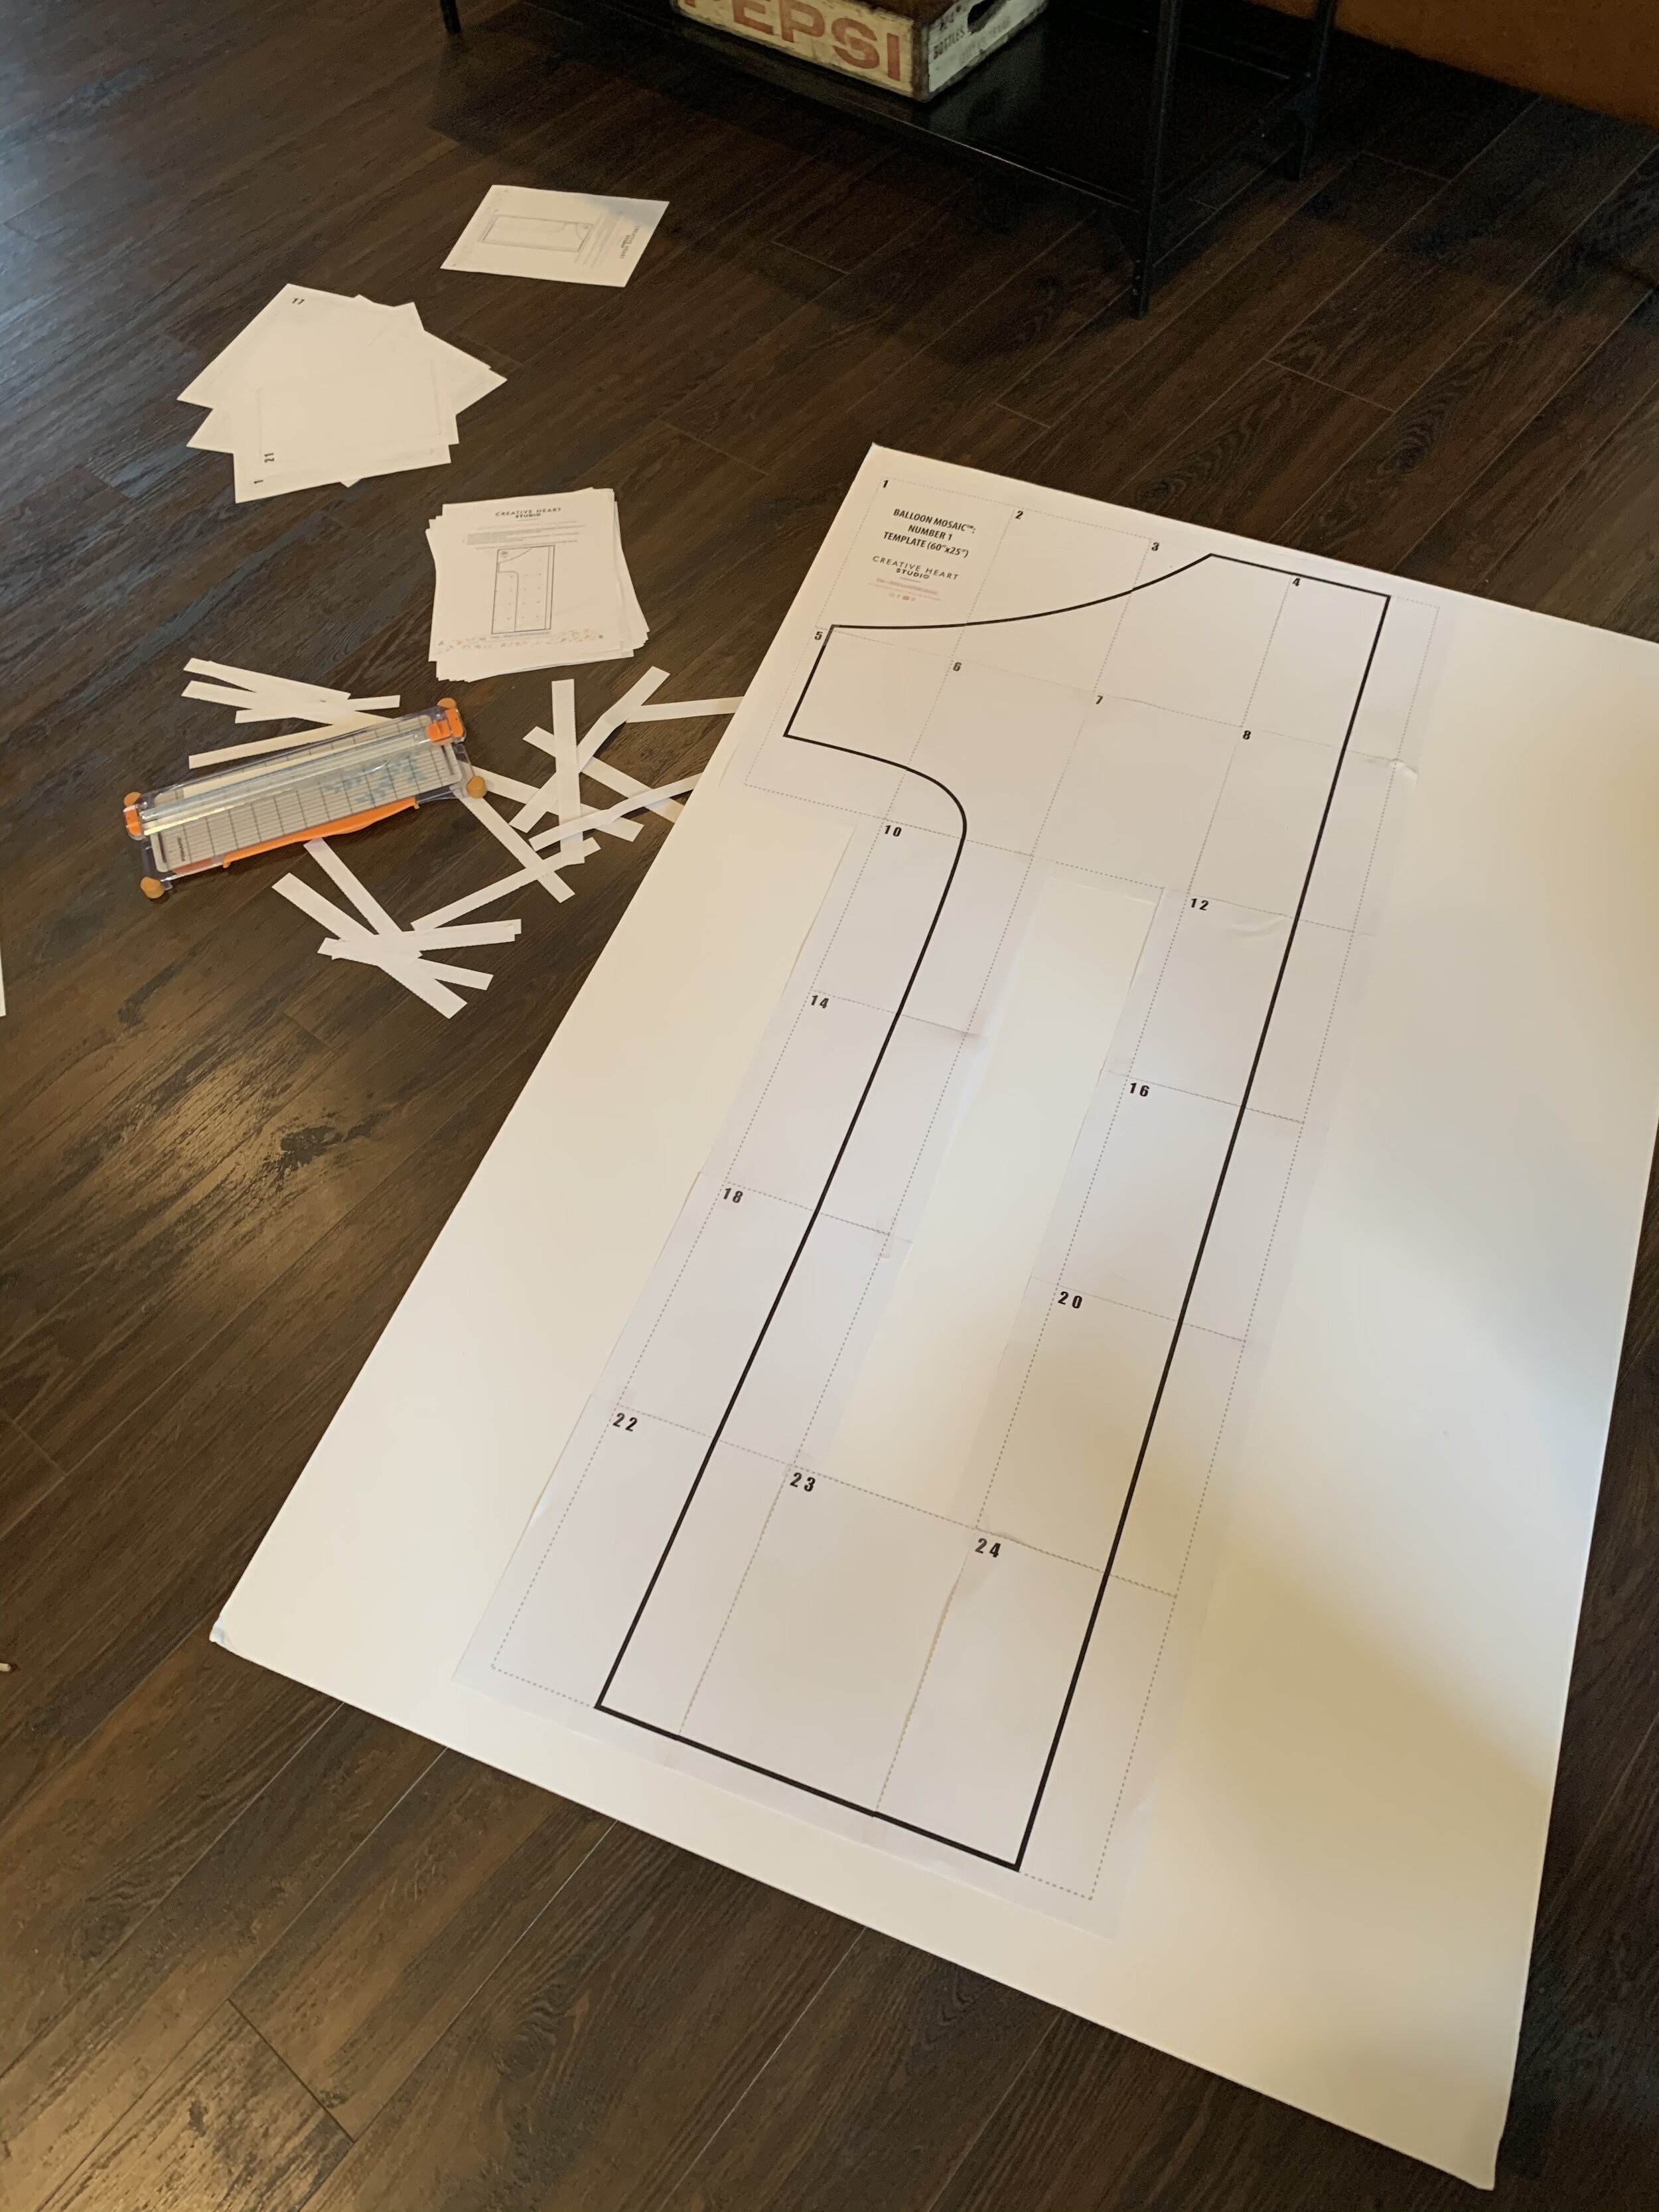
For the #1, this is made from a template from “The Creative Heart Studio”. It was fairly easy to construct out of sturdy board taking approximately 3 hours to complete. Once you order a template (called mosaics) you receive complete instructions. Also on the site are instructional videos to walk you how to make a mosaic from start to finish. Essentially you make the shape by printing out the template, taping it to the sturdy board and then cutting it out. You then cut out sides and glue them onto the cut out board to make the shape dimensional. In the instructions you receive with your template it explains how many sturdy boards you need. For the “1” I only needed 1 board. However, I believe almost all other shapes need 2 boards.
Supplies I used besides the sturdy board included an X-acto knife, cutting mat, low temp glue gun, metal ruler and a pencil. The balloons I used inside the “1” mosaic were 5” (about 40 balloons) and 11” (about 7 balloons) . I blew up each balloon to its full size and then slightly deflated to get a more rounded look.
When placing the balloons inside the “1” I started at at the bottom, filling the sides first. I attached the balloons to the board with a drizzle of glue using the low temp glue gun. I found with the bigger mosaics it helped to stand the mosaic up facing me as I placed the balloons in. I saved a few extra small balloons to place in the gaps at the end. I used glue dots to adhere balloons to each other. I know, it seems like a ton of work and it does take time. However, it truly was pretty easy to complete.
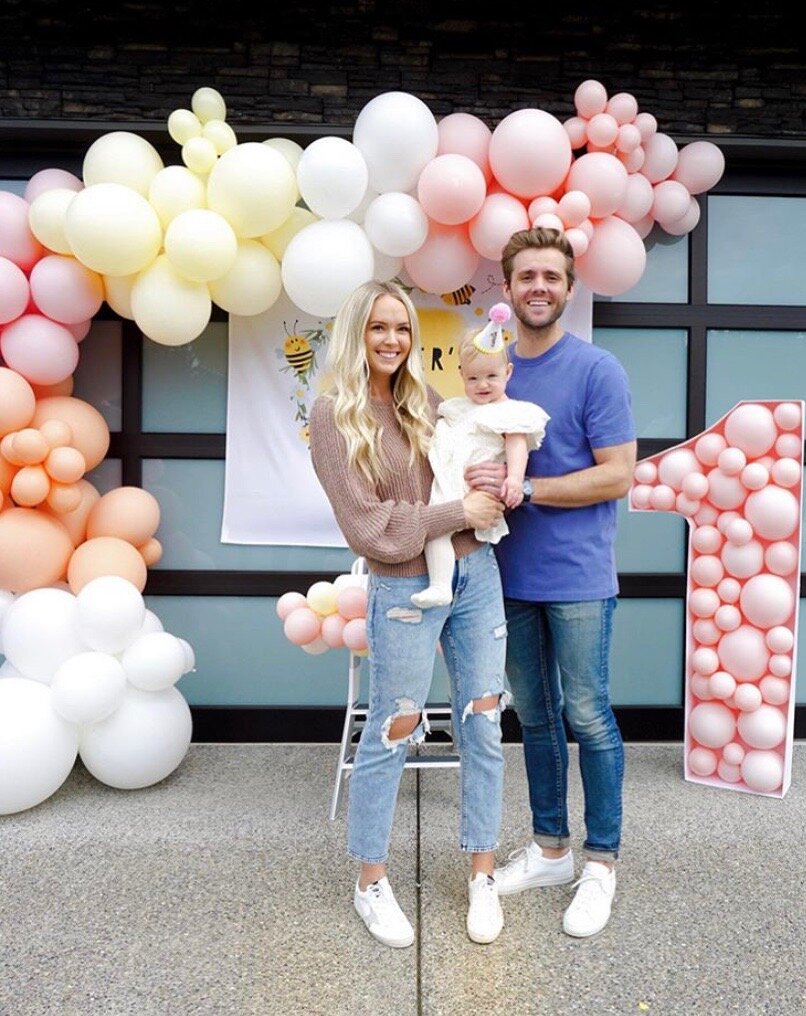
Karlie, Blair and Al

Blair on her 1st Bee-Day
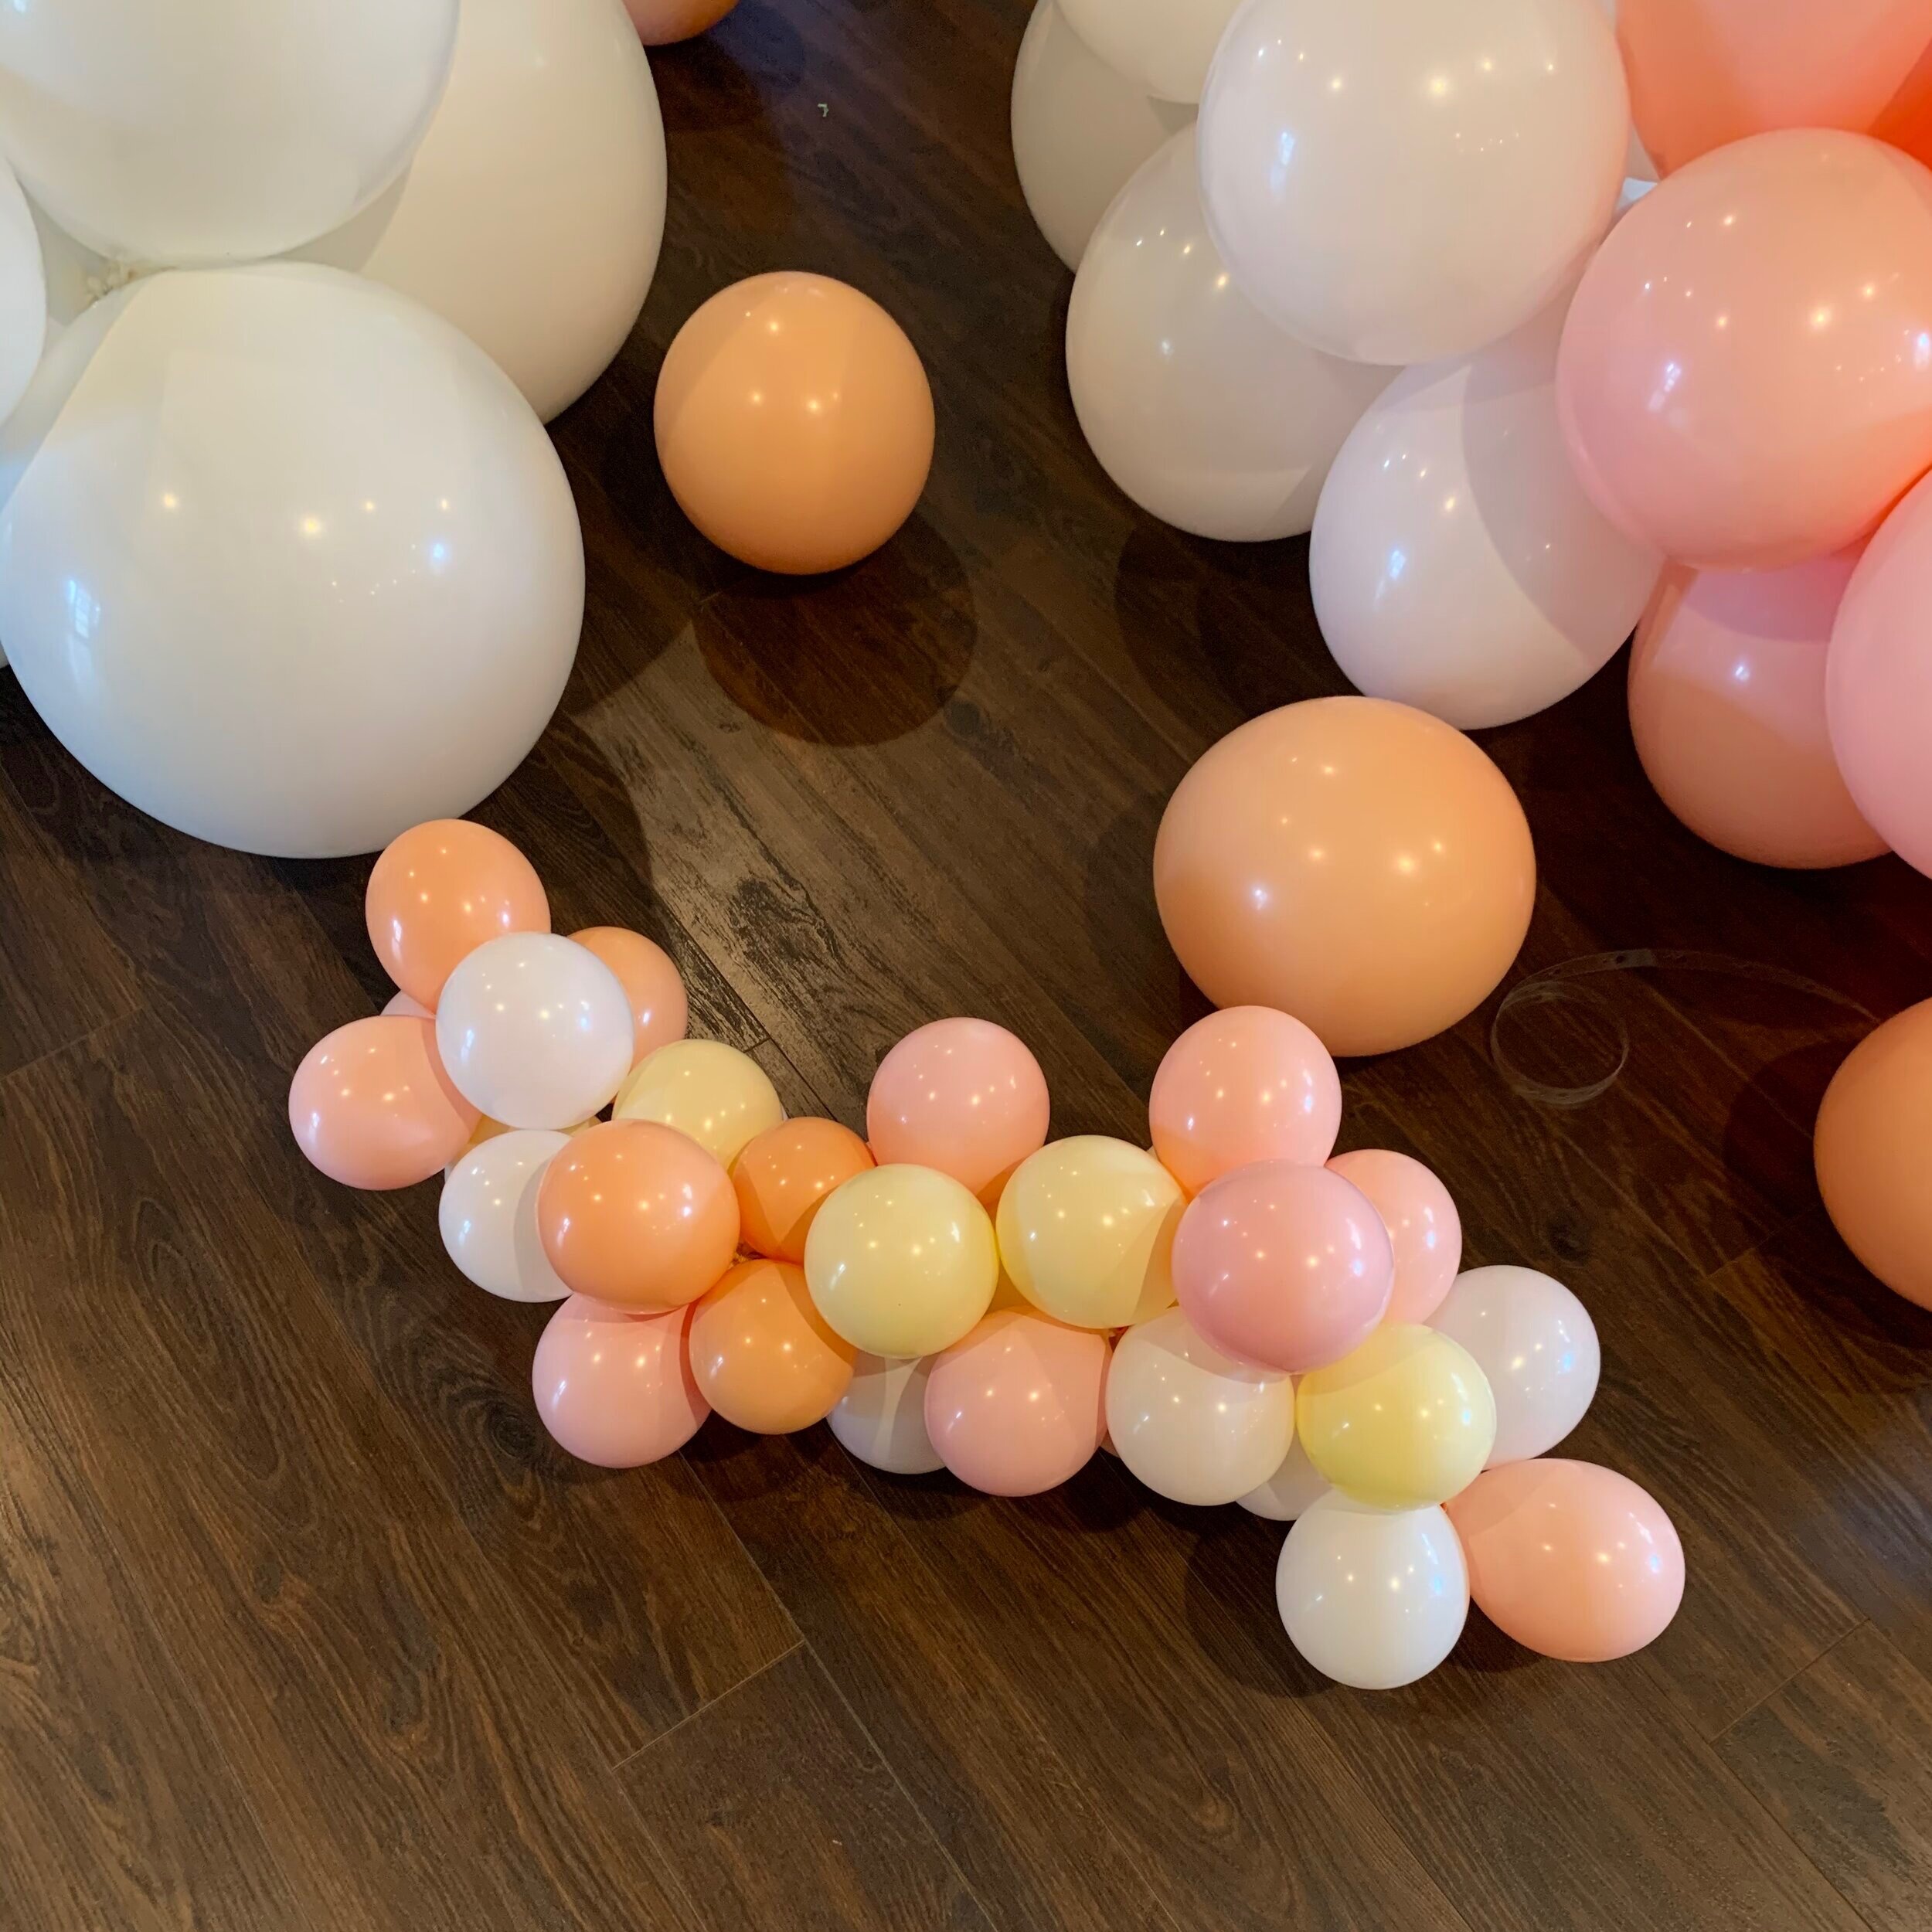
When creating the arch, it helped to construct it in 3 sections to make it easier to transport and hang. I used a balloon arch kit and then added in additional balloons by tying them in with fishing line in varying spots to create even more dimension. For the arch, I primarily included the double stuffed 11” 16” and 36” balloons. I used the custom cloth backdrop as my anchor for measurement as I created the arch, it helped to have a visual as I went. When it came time to get the decorations up, we hung the cloth backdrop first and then sculpted the arch around it using fishing line and suction cups attached to the glass garage door. Al (Blair’s Dad), who was hanging the arch also used some packing tape to hold the base and top of the arch in place. Once the arch was in place, we added pre-made clusters of 5” in balloons (attached together with glue dots) to fill in any gaps and to allow more dimension to the final look. We also created a cluster of 5” balloons to go around the front of the high chair. We adhered them to the tray using glue dots.


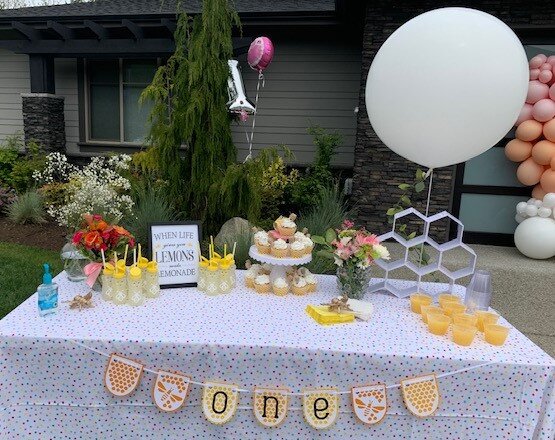
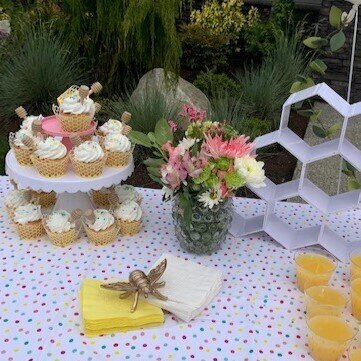
We set up a light refreshment table where cupcakes, mimosas and lemonade in adorable honey bear drinkers were served. We added the honey bee’s to the bellies of the drinkers with white vinyl. For those with a cutting machine, I used this cut file I found on etsy.
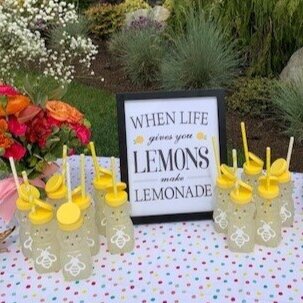
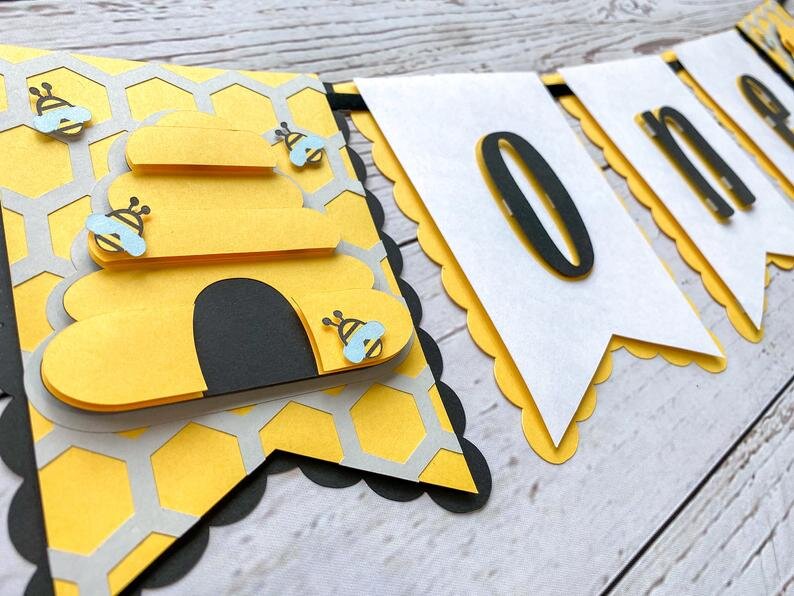
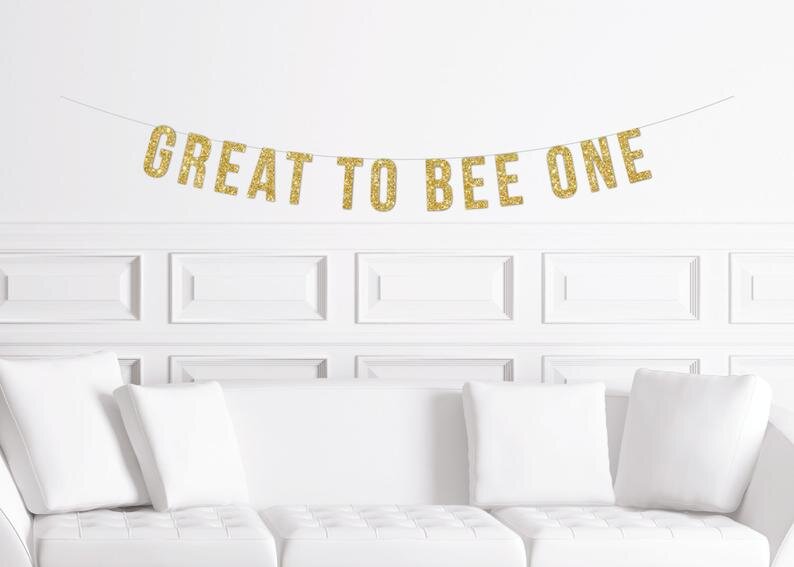
One of my favorite party tricks is finding adorable printables on etsy that match the theme of the party to add to the overall look. Since life is giving us all lemons at the moment, we thought it was fitting to add the “when life gives you lemons make lemonade” sign to the tablescape. We added touches of flowers and Erin made an adorable “One” banner across the front of the table. It was the perfect, simple display.
All in all, it was a such a pleasure to work with Karlie in creating a beautiful celebration for sweet Blair. It was truly amazing to take part in their family’s special day.